Double Texture Embossing-Tips you don't read about
I decided to try out this tutorial that I found for Double Texture Embossing.
As I went through many scraps of Cardstock I have finally realized that when it calls for Heavy Chipboard. You need to purchase heavy chipboard. There are a few missing things on the tutorial after I tried it out myself.
So Here's a tweaked Version of the Double Embossing Tutorial.
Supplies: Heavy Chipboard, Big Shot , Cardstock (I used whisper white),
Oval Cut out, Oval Embossing Folder, Embossing background folder of your choice.
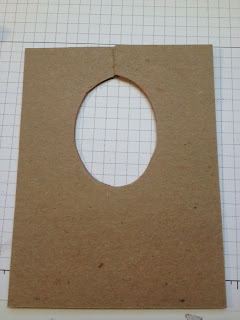
Step 1. Take your Oval Cut out and trace it on to your Chipboard , using regular scissors cut out the oval like this
You will have a cut line but it won't show.
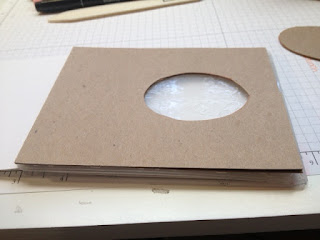
Step 2. Like a Sandwhich you are going to put your white cardstock in the embossing folder, then place your chipboard on top. You will close to tab 2 and only use 1 cutting pad on the Big shot. Normally we use two. But you will only need one.
It should look like this:
Now here's a tip : on the back of your chipboard I would use a piece of scotch tape on the back side to just hold it in place. It does move around when you are putting it together, which i found out.
It should look like this once you have run it through.
Step 3: Now take the Oval cut out and sandwich it in this order
Embossed CS inside folder and Oval cut out on top of Oval frame emboss folder.
It would look like this
*Dont Forget*
Take a Piece of scotch tape and adhere the oval to the top of the embossing plate once you have it in the right spot.
Step 4: Run it through the Big shot, it should look like this once you are done
There you go!..You have now Double Embossed your Cardstock.
I'll put a picture of the card once i'm done with it.
Please feel free to contact me with any questions.


No comments:
Post a Comment